
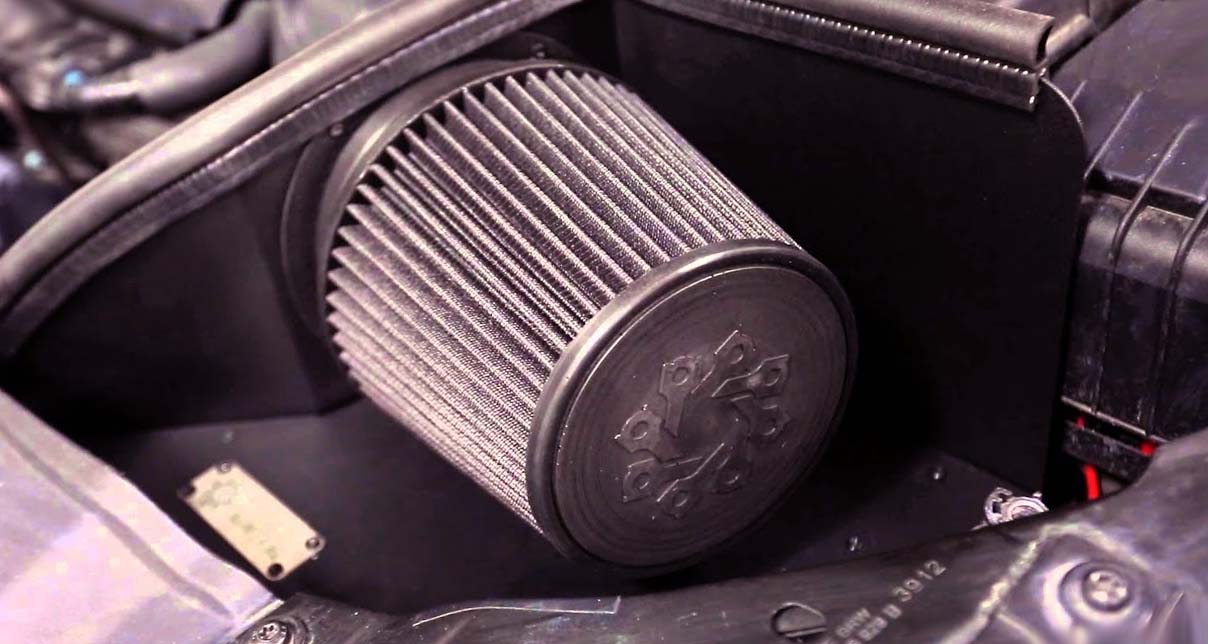
If you’re looking to improve your vehicle’s performance, adding a cold air intake is one way. However, it’s important to know that cold air intake can also be affected by heat. To protect it from the hot engine compartment and ensure it runs efficiently, you must consider making a cold air intake heat shield. Here are some tips on how to do this yourself at home. However, if you’re seeking a comprehensive solution, consider investing in the Best Cold Air Intake for Toyota Camry. This system not only enhances your engine’s performance but is also designed with heat resistance in mind, keeping the intake air as cool as possible for optimal combustion and efficiency.
Benefits of Making a Cold Air Intake Heat Shield
There are many reasons why you should invest in a cold air intake heat shield for your car:
- It helps keep dust and moisture out of the engine bay;
- It reduces strain on engine components as hotter temperatures cause more wear and tear;
- It prevents the warm air from entering the engine through the intake system and can provide up to 15 horsepower gain;
- The installation process is relatively easy if done properly.
Materials Required to Make a Heat Shield
Before you begin making your own cold air intake heat shield, you will need these materials:
- Sheet metal such as aluminum or stainless steel (depending on what your car requires)
- A drill
- An appropriate-sized hole saw
- Automotive-grade adhesive
- Rubber padding (optional)
- Sandpaper or other abrasive to smooth out the sheet metal edges
Step-by-Step Instructions for Making a Cold Air Intake Heat Shield
Once you have all the materials, it’s time to begin making your heat shield. Here are the step-by-step instructions:
-
Measure and cut out a piece of sheet metal slightly larger than the cold air intake box. Make sure to use sandpaper or another abrasive to smooth any sharp edges.
-
Once you have the right size and shape, drill a hole in the center of the sheet metal with an appropriate-sized hole saw, making sure that it’s big enough for your cold air intake pipe (or other components) to fit through.
-
Place rubber padding around each sheet metal edge if desired, and then secure it with automotive-grade adhesive. It will help protect your car from scratches by sharp edges on your heat shield.
-
Using screws and nuts (if needed), mount your heat shield onto the cold air intake box. Make sure that it’s secured tightly to prevent any air leaks.
-
Once everything is secure and in place, test your heat shield by starting your car and ensuring that the heat shield is effective.
Final Thoughts
Making a cold air intake heat shield is an easy way to improve the performance of your vehicle and protect it from dust and moisture. With these easy-to-follow instructions, you can make one for yourself at home with minimal cost and effort. Just remember to use the right materials, take your time with installation, and make sure everything is securely mounted before taking it for a test run!
Add Comment